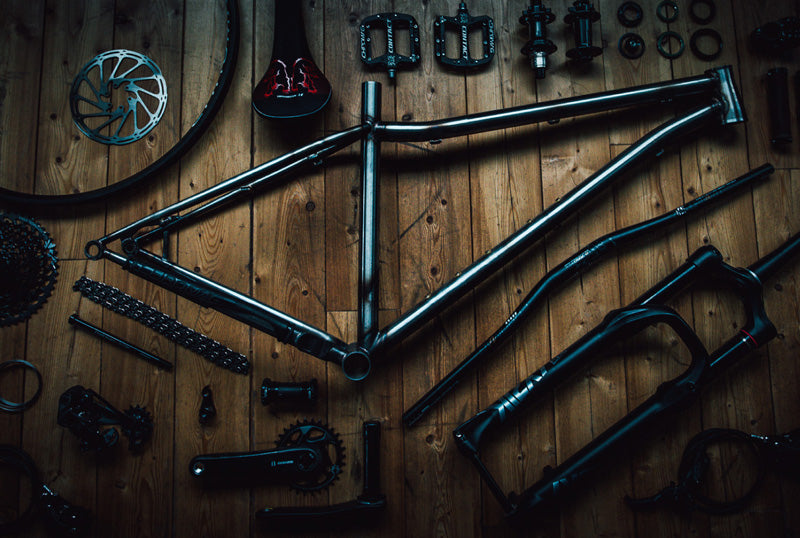
Up for the Journey, Down for the adventure
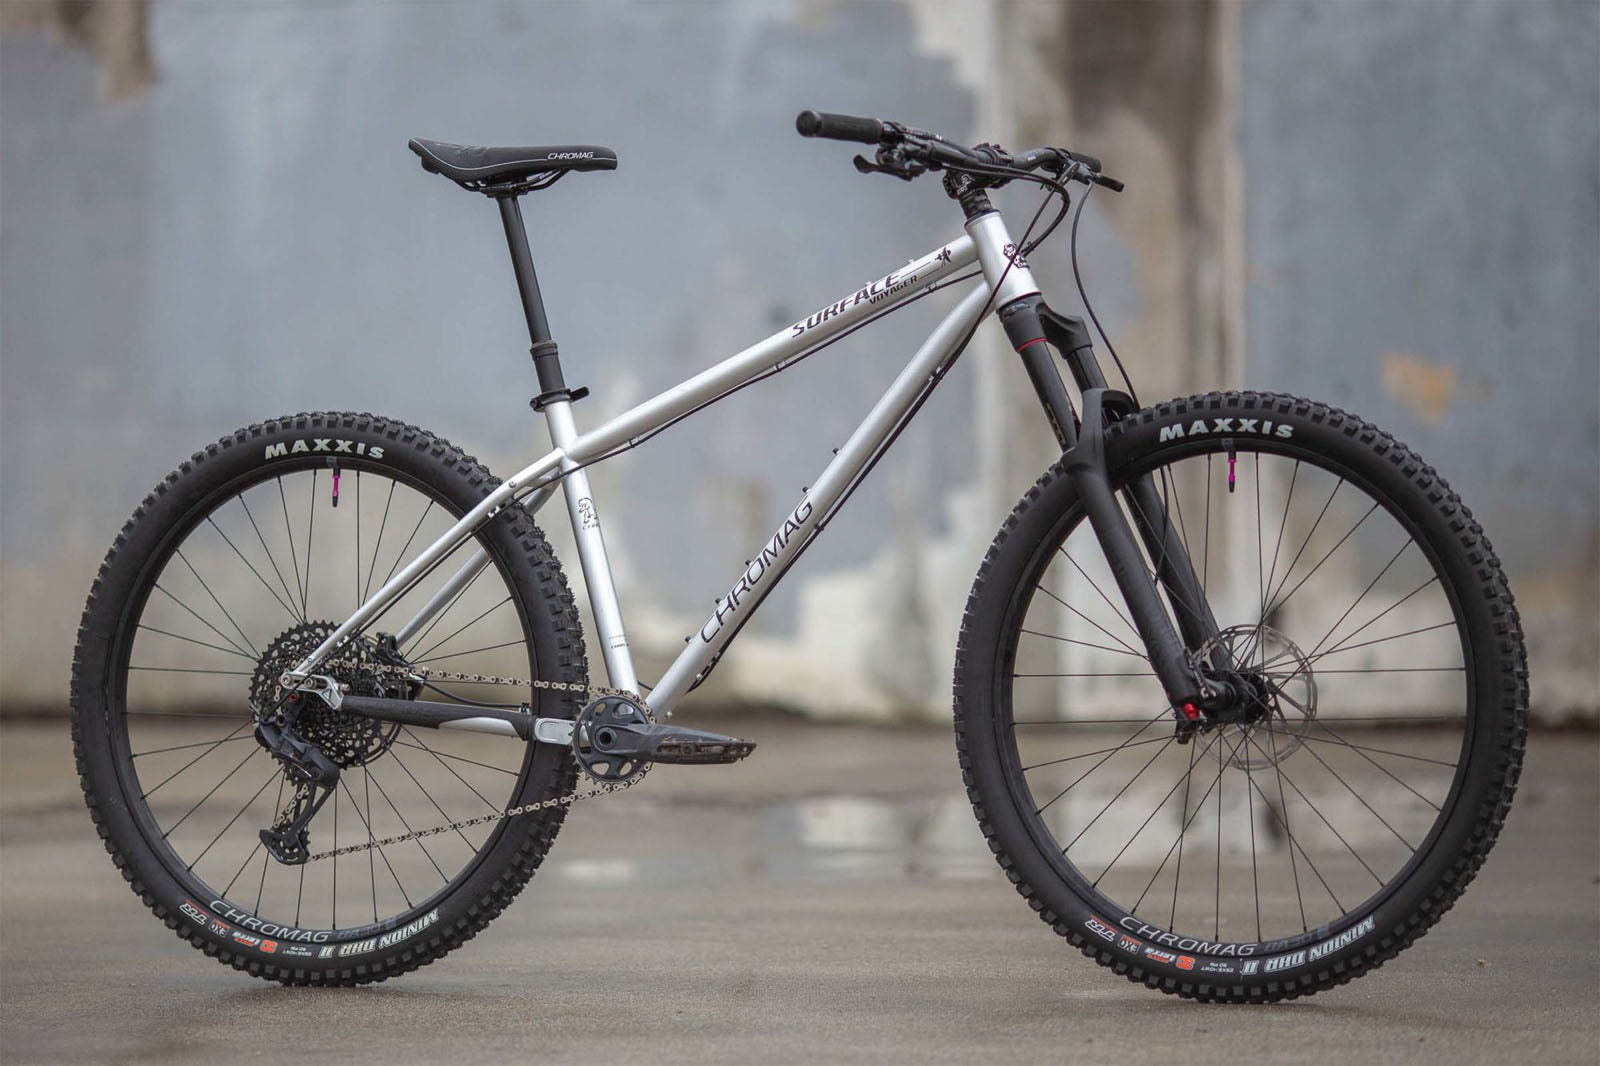
Surface Voyager
140mm
29"
steel
3 Year warranty


Builds & Specs
• Fork // RockShox Pike Ultimate 140mm Boost 110x15mm
• Stem // Chromag HiFi BSX 40mm
• Bar// Chromag OSX 25mm Rise, 800mm
• Headset // Cane Creek Forty ZS
• Crank // SRAM GX 170mm
• Brakes // SRAM Code RSC
• Rotors // SRAM 180mm
• Shifter // SRAM GX Eagle
• Cassette // SRAM GX Eagle 10-52t
• Derailleur // SRAM GX Eagle
• Rims // Chromag 29" Phase30
• Hubs // Chromag R4
• Tires // Maxxis Minion DHF/DHR
• Seatpost // RockShox Reverb
(125mm - S) (150mm - M) (175mm - M/L) (200mm - L, XL)
• Saddle // Chromag Trailmaster DT
• Grips // Chromag Format
• Chain // SRAM GX Eagle
Build options are subject to availability and liable to change without notice.
• Wheel Size // 29"
• Recommended Fork Travel // 140mm (±10mm)
• Material // 4130 Chromoly Steel
• Frame Weight (M/L) // 7.18lbs
• Hub Spacing // Boost 148mm
• Headset // 44-56 Semi Integrated
• Seat Clamp Size // 35mm
• Seat Post Size // 31.6mm
• BB // 73mm Threaded
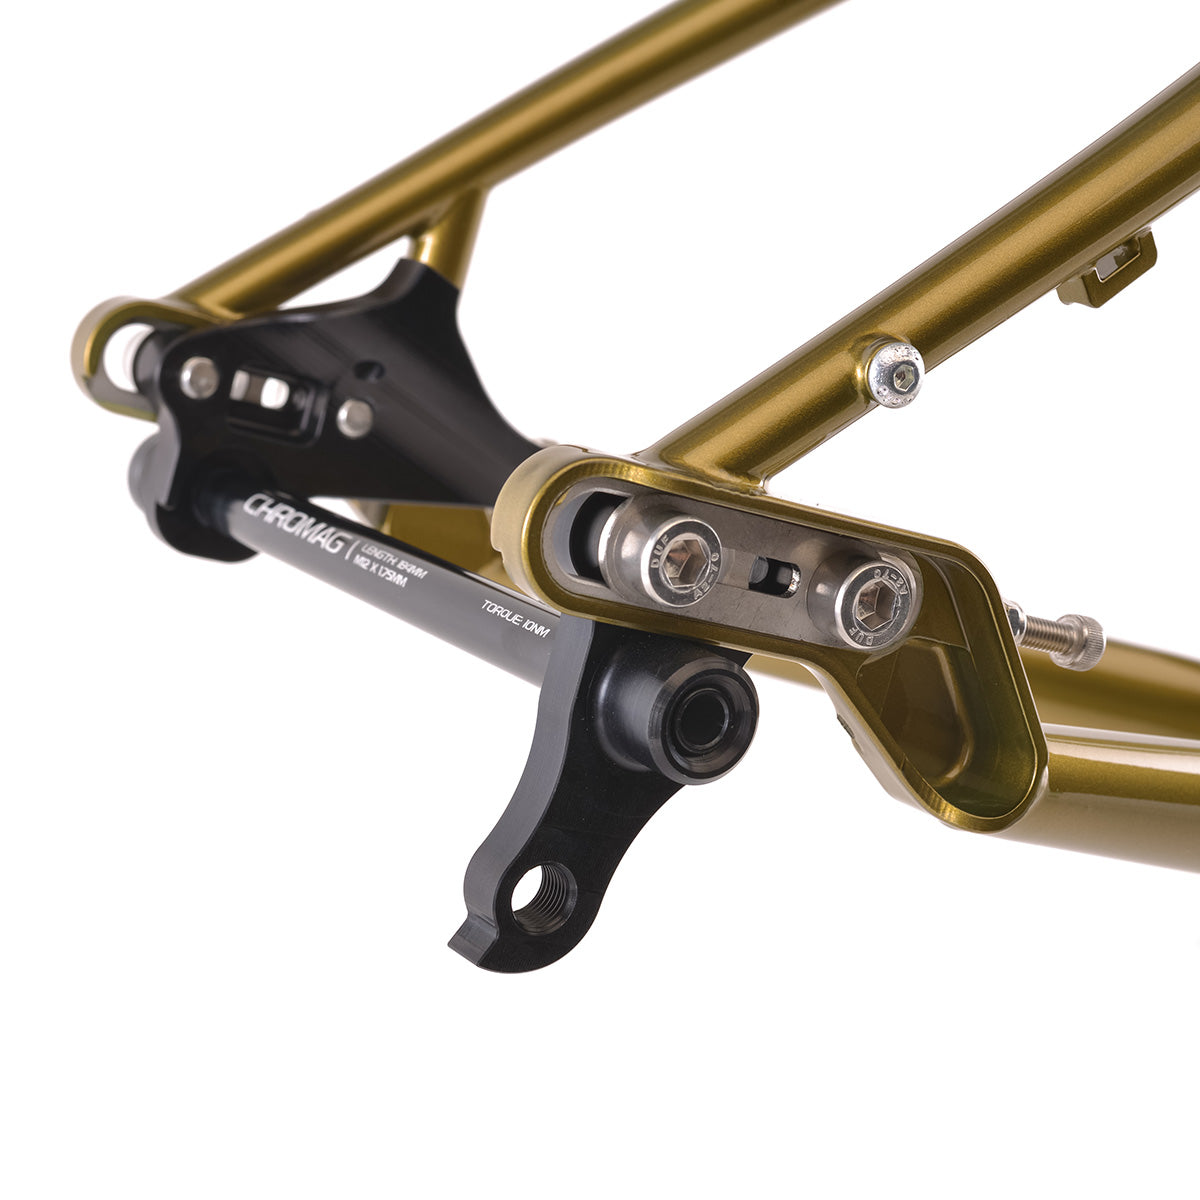
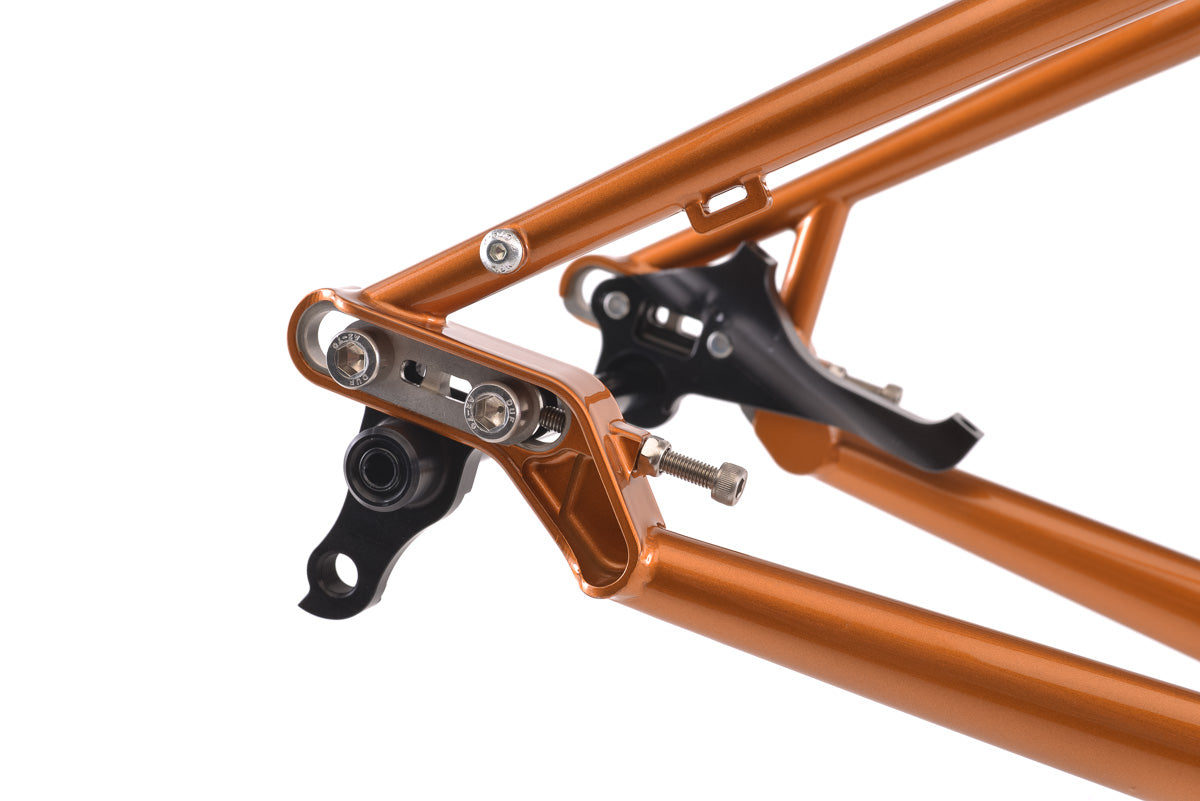
• Hanger // Chromag Sliding Dropout (Included)
• Rear Axle // 180mm, M12 X 1.75mm - Boost 148 (Included)
• Brake Mount // 160mm Post
• Frame Origin // Canada
• Builder // Chris Dekerf
The Surface Voyager
4130
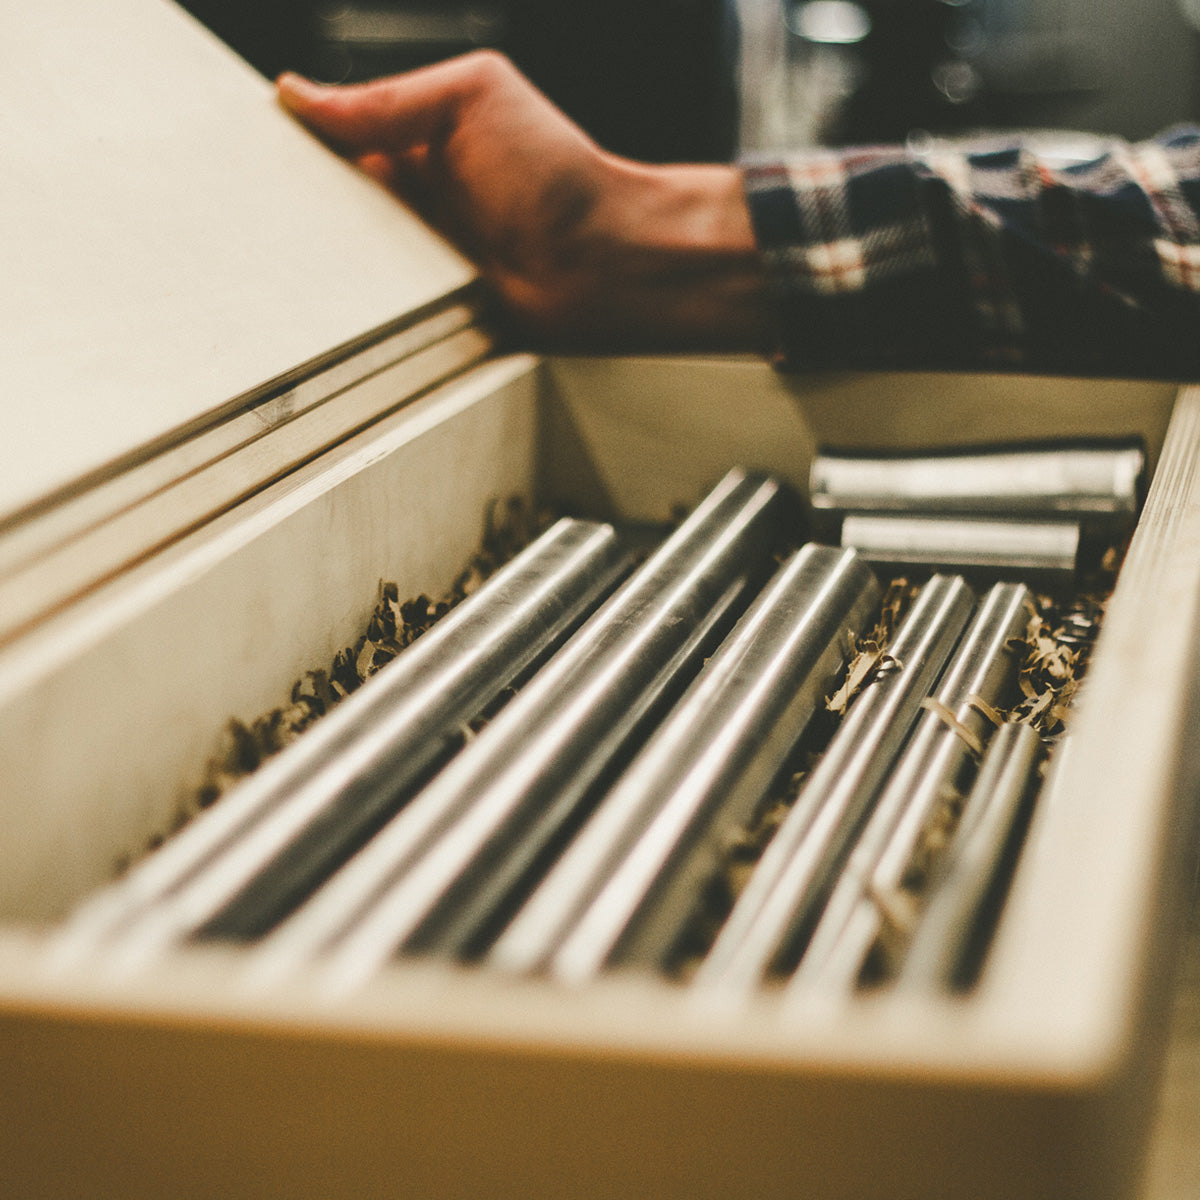
Almost all Chromag frames are made from quality 4130 chromoly steel tubing. Chromoly is an abbreviation for chromium-molybdenum indicating the materials that the steel is alloyed with.
The added chromium helps increase the steels hardenability and also provide some corrosion resistance.
The molybdenum helps to increase the toughness of the steel.
It has a high tensile strength but is also malleable which is what gives our frames their notorious ride quality and feel. Chromoly is often used when more strength is required than that of mild carbon steel.
It falls under the AISI (American Iron & Steel Institute) 41XX designations which is where the “41” comes from. The “30” indicates it contains approximately 0.30% carbon by weight.
Chromoly is much stronger than traditional 1020 steel and it has a higher strength to weight ratio and high tensile strength, which means we can use less material and achieve a product that can withstand the abuse that riders love to throw at it.
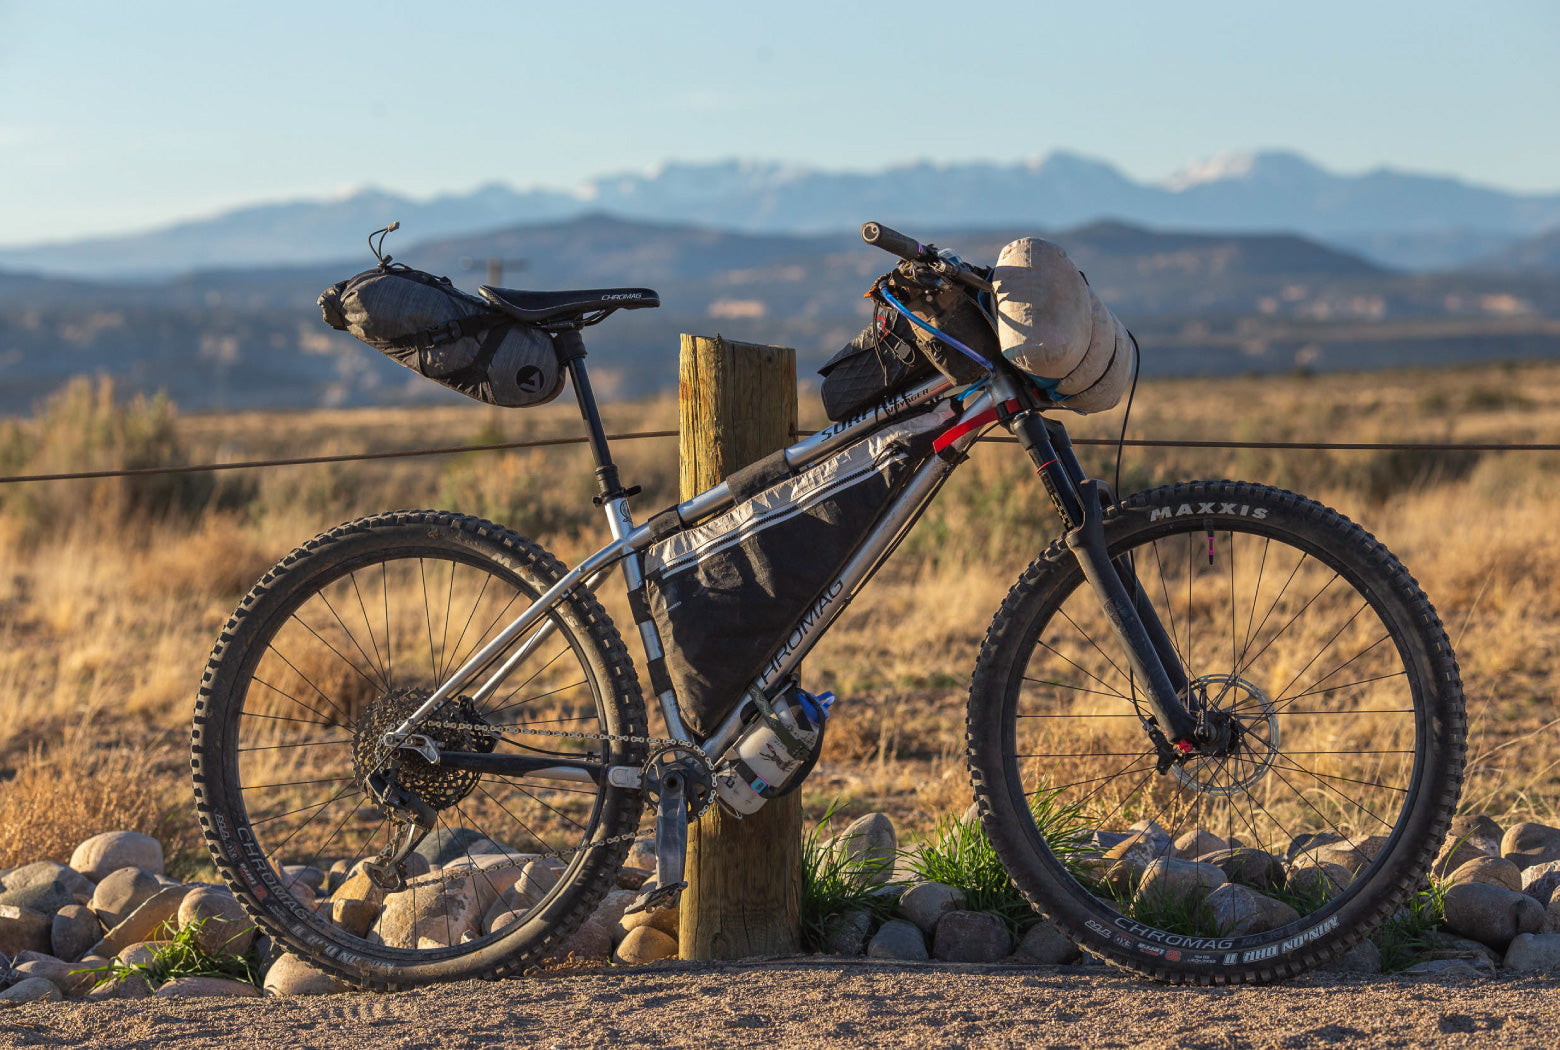
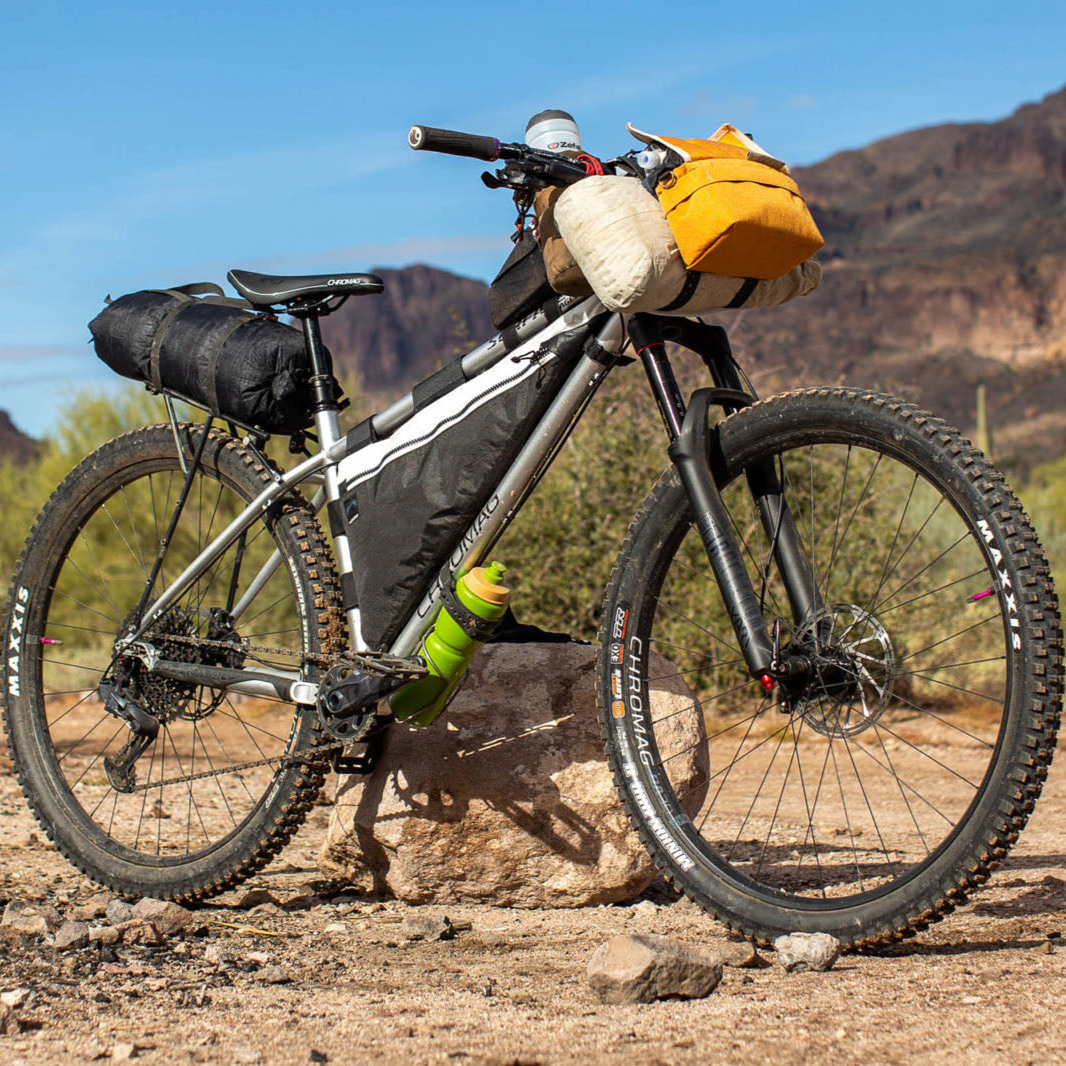
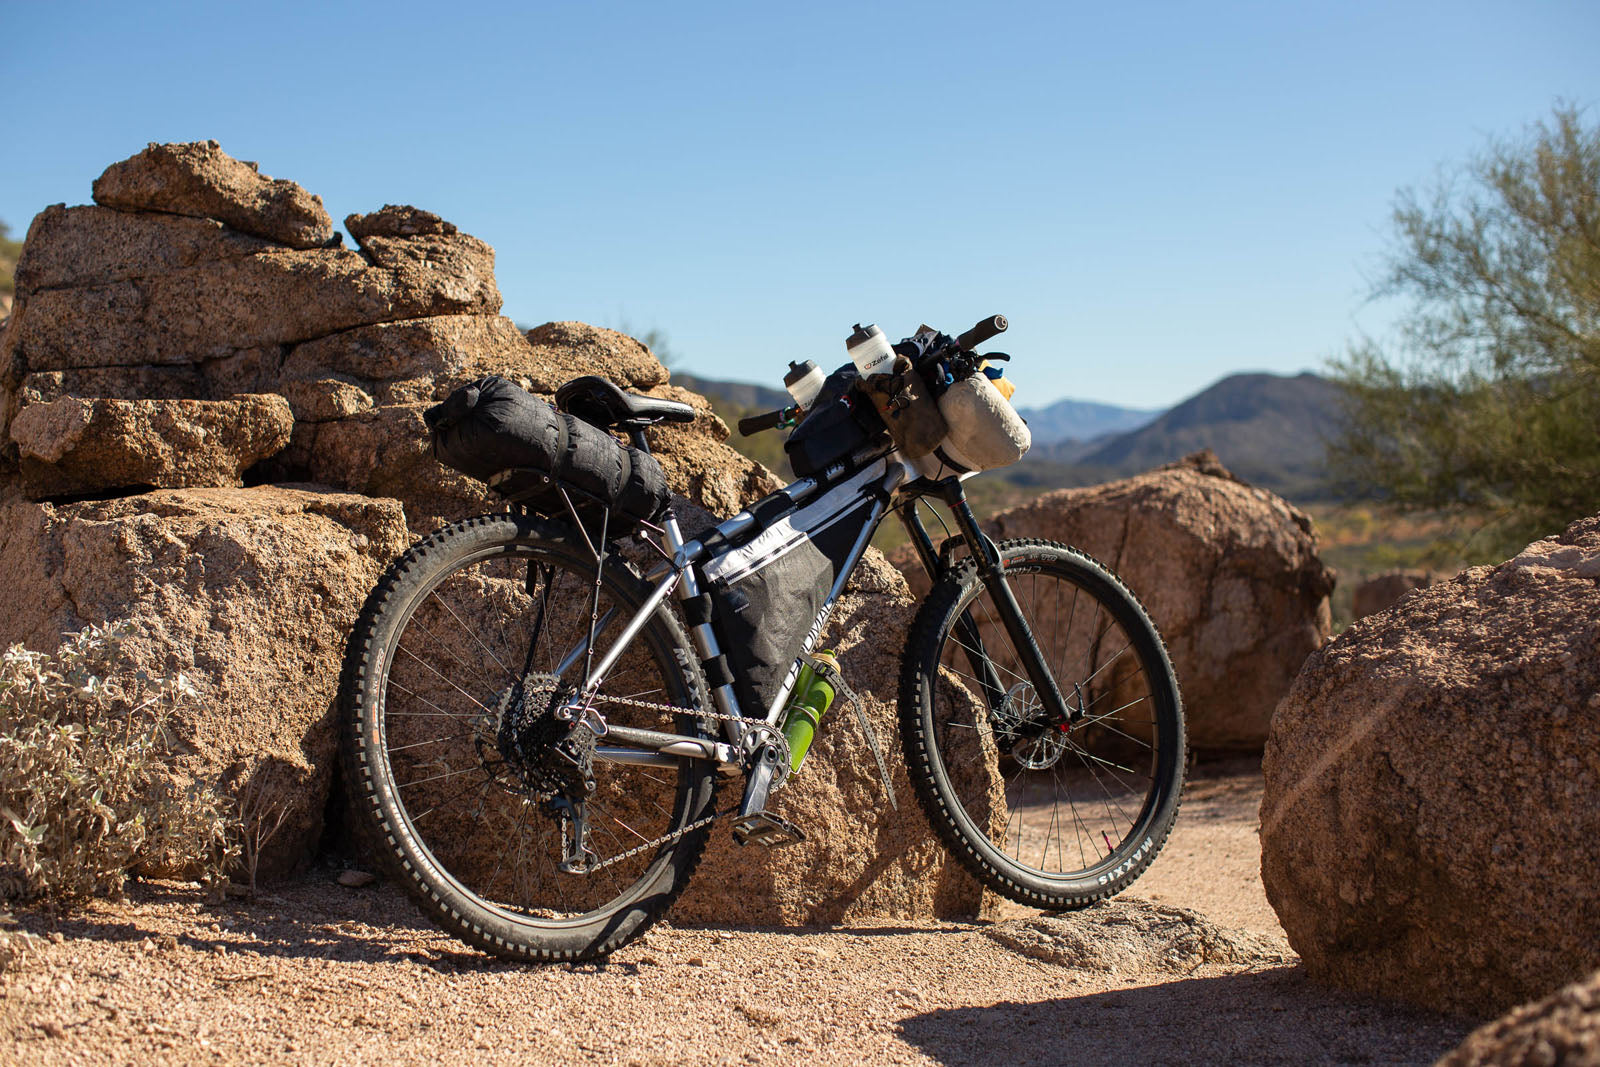
This new breed is designed around a 140mm fork, and can be thought of as a (very) aggressive adventure bike, gravel bike or bike packer given its ample gear mounts.
key features
The long distance runner that still parties.
geometry
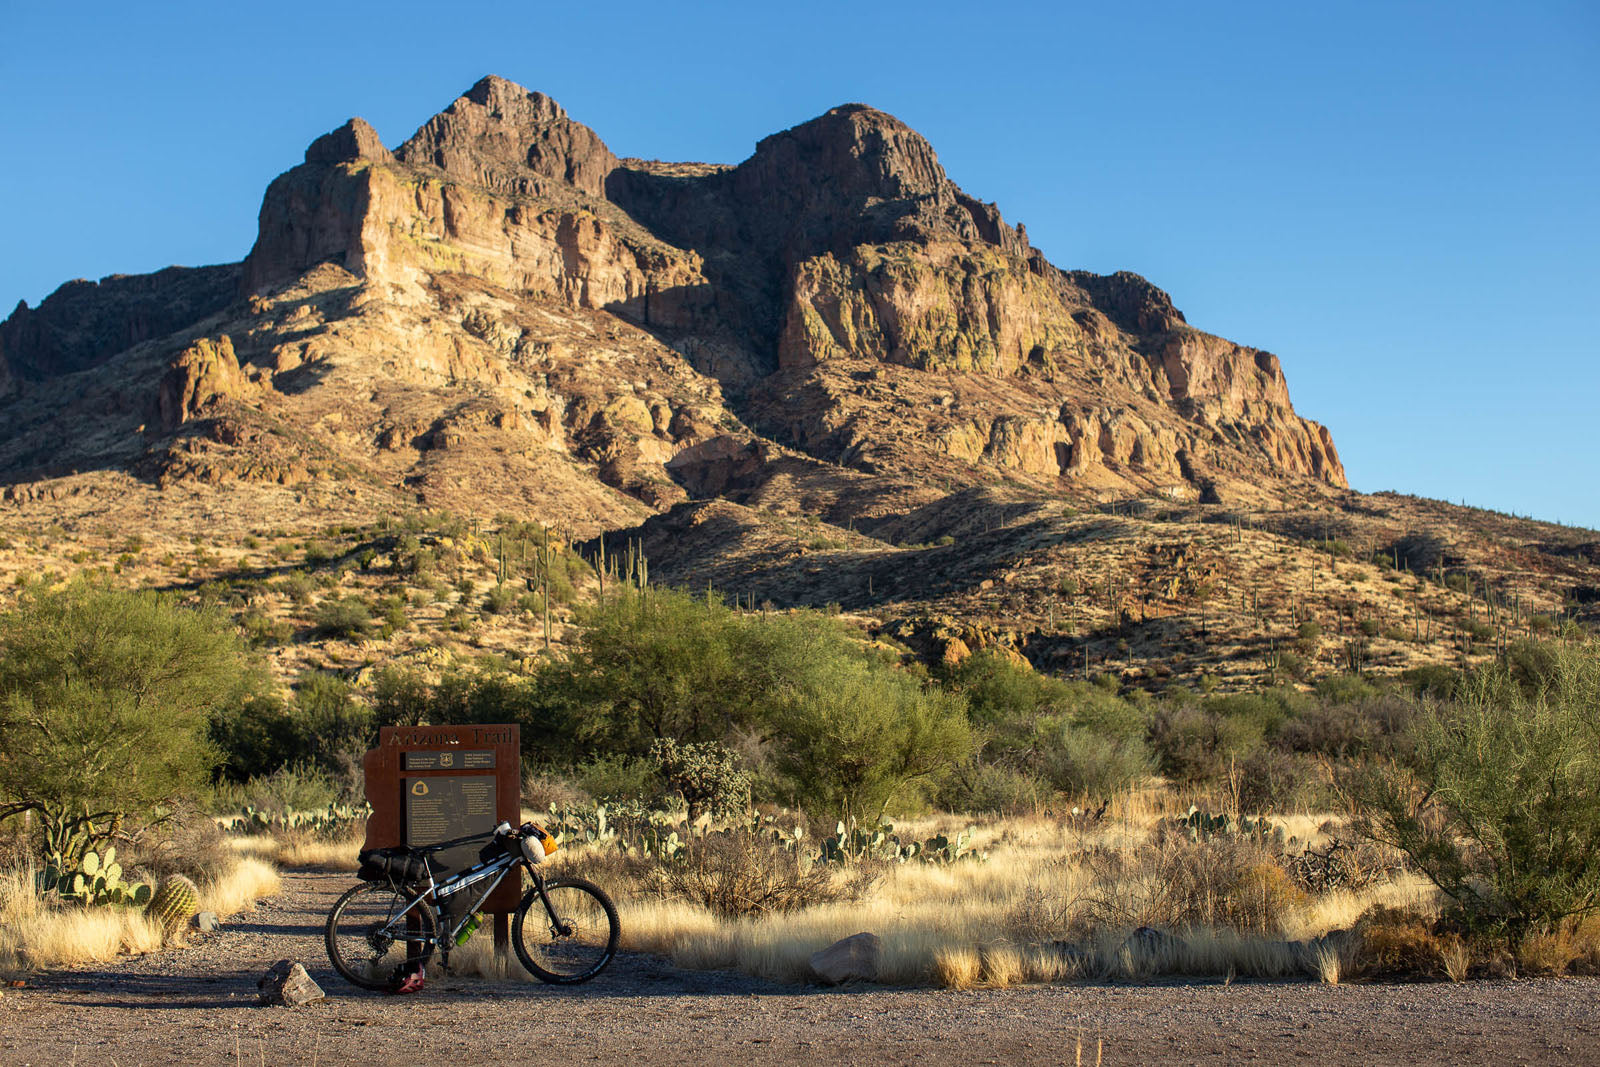
The Surface Voyager is perfect for covering distance and big days in the saddle. Packed with mounts for racks, bags and accessories along with sliding dropouts it has great versatility.
Don’t let all that bike packing prowess fool you though, the Voyager is still down for a good time when the trail points down.
| Frame Size | STypical Rider Height: 155cm - 165cm | MTypical Rider Height: 163cm - 174cm | M/LTypical Rider Height: 172cm - 183cm | LTypical Rider Height: 181cm - 192cm | XLTypical Rider Height: 190cm - 200cm |
|---|---|---|---|---|---|
| 624 | 624 | 633 | 642 | 651 | |
| 421 | 446 | 463 | 487 | 503 | |
| 577 | 602 | 621 | 647 | 665 | |
| 95 | 95 | 105 | 115 | 125 | |
| 1150 | 1175 | 1196 | 1225 | 1245 | |
| 50.8 | 50.8 | 50.8 | 50.8 | 50.8 | |
| 320 | 320 | 320 | 320 | 320 | |
| 677 | 714 | 738 | 762 | 799 | |
| 425-440 | 425-440 | 425-440 | 425-440 | 425-440 | |
| 368 | 406 | 431 | 456 | 494 | |
| 188 | 223 | 251 | 276 | 314 | |
| 65.5° | |||||
| 76° | |||||
| 29.0'' | |||||
* Max. post insertion based on Rockshox Reverb


THIS IS AN APPROXIMATE GUIDE, SOME PEOPLE HAVE LONGER LEGS THAN OTHERS!
Sizing
If you're between sizes, it's a good idea to try to ride them both, either by hopping on a demo or stealing from a close friend. If that isn't an option, examine reach, stack and ETT numbers on your current bike and compare. If in any doubt, please get in touch and we'd be happy to chat about it with you.
You could also check out the review section, to see how this bike fits other people.
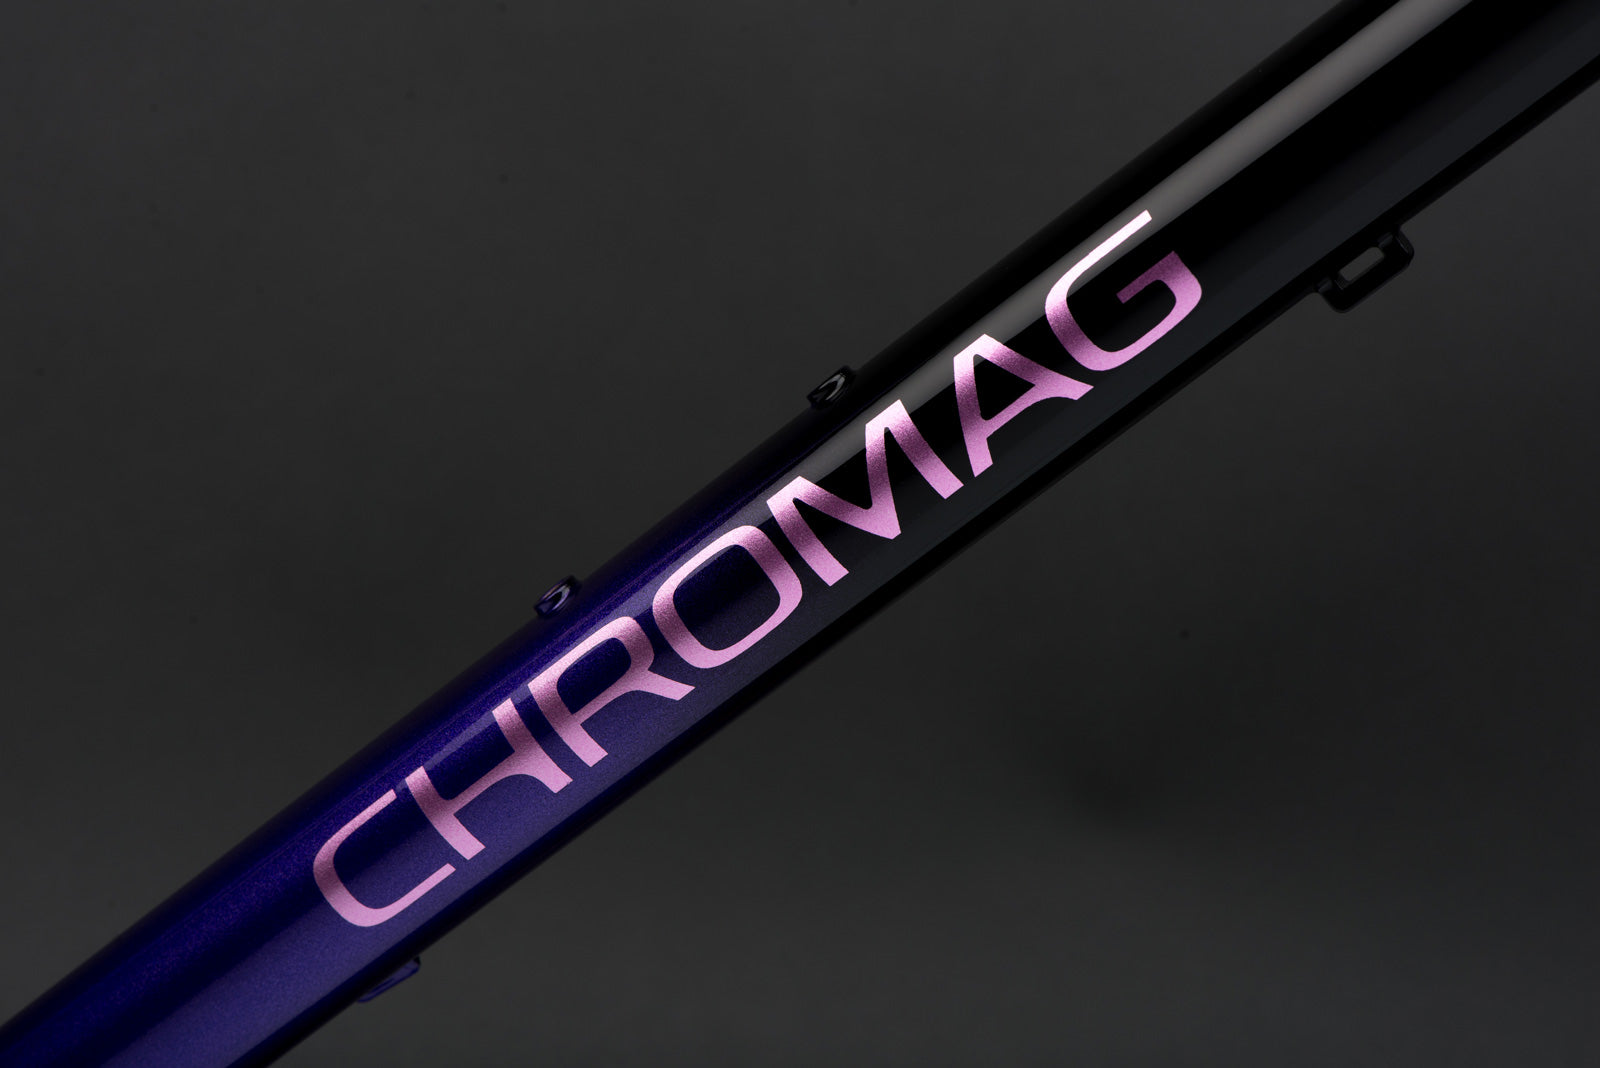
The Voyager is available in all the colours of the rainbow, and occasionally some stock colours too.
gallery

FAQ's
This is possible but does notably change the geometry. The change results in approximately 1° slacker head and seat tube angles, 20mm shorter reach and BB height 10mm closer to the ground.
A 2.5” Maxxis fits with appropriate room around it.
No, there are no ISCG mounts on the Surface Voyager.
All our frames can work with +/-10mm of fork travel. To generalise the geometry change is around a 0.5° slacker head tube and seat tube angle for every 10mm added.
All geared hardtails run a standard boost chain line (52mm)
With a 52mm chainline (SRAM boost standard), the Surface Voyager can fit up to a 34-tooth chainring.
For context, most of us here are running a 30t, with a 10/52 cassette.
There is a serial number on the back of your fork arch, adding this to Rockshox Trailhead app along with your weight gives a good baseline setting.
It does, however the specific blend of steel we use (CR-MO) has very good corrosion resistant properties. You can further protect things internally if you live in a partially harsh area or have concerns. Fluid Film is our recommended product for this.
Hope and other large 4 piston brake calipers can be tight, SRAM codes fit just fine. Given the bikes ambitions it is not expected that many will want to fit the largest heaviest brakes to it. Please let us know if you have tried to fit a more obscure component and faced issues.
Greasing you seat post prevents this issues, we strongly recommend re-greasing every 6 months at a minimum.
Not much! Here's what you need to do if we shipped your bike to you:
• Inflate tires to desired pressure. (Sealant is already installed)
• Install brake rotors, tightening bolts to 6.2Nm.
• Attach derailleur to frame, tightening to 9Nm making sure that the B-tension tab rests properly against the derailleur hanger stop.
• Grease headset bearings, install fork and handlebar, positioning the headset spacers above or below the stem according to rider fit.
• Align handlebar stem, preload headset and tighten stem pinch bolts to 8Nm.
• Install wheels, tighten axles.
• Install chain with quick link.
• Grease pedal threads and install pedals using pedal washers supplied.
• Adjust brakes, shifters, saddle position and height for personal preference.
• Set up suspension.
• Bed-in brakes. (Roll down a gentle gradient dragging one brake at a time. Avoid locking them up.)
• Go ride!
Note: If you had to Google "Nm", or you don't know which way to install your rotors, you should probably get a qualified mechanic to build your bike!
Here's what's been done:
• Chain length adjusted.
• Gears adjusted.
• Brakes set up and bled.
• Handlebar tightened to 6Nm.
• Grips tight on handlebar.
• Crankset tight, bottom bracket tight/adjusted.
• Saddle and seatpost tight.
• Seatpost greased *make sure to re-grease every 6 months!
• Tire sealant installed.
• Cassette tight.
